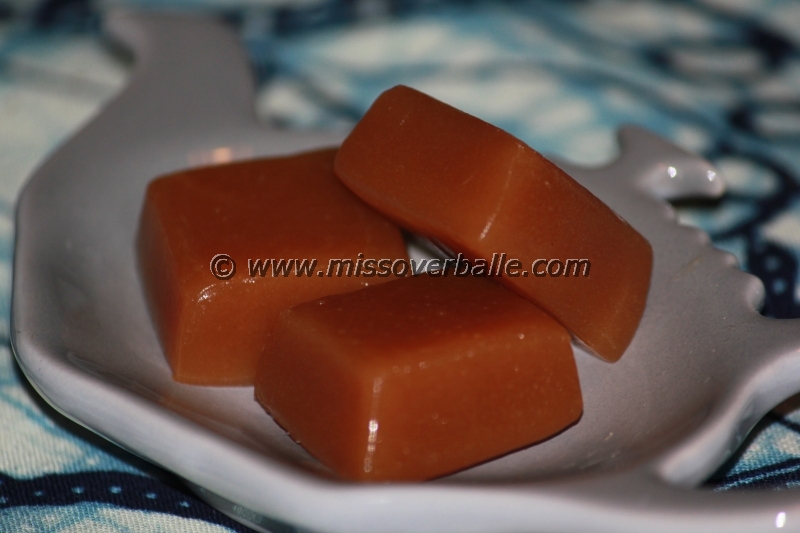
These may very well be the prettiest caramels I have ever made.
Easter is upon us, with a few very needed days off from work. Third trimester is beginning to take its toll on my body, and with 6½ weeks left until my due date, I realise I am lucky that things are not worse, but I am exhausted, my feet hurt, my hands have begun getting numb/sleeping during the night, the belly is so heavy and a sligt nausea comes and goes, along with som Braxton Hicks contractions. Not too bad, but the symptoms get worse when I have been at work the whole day, so a few days of is really nice, and then come May 1st, I am going on maternity leave.
In the spirit of being home and having a little leftover energy along with som leftover cream that needed to be used, I decided to make caramels. I have a few recommendations when making caramel, some may be based on this batch.
First, caramels always take longer than I think they will, and I tend to not plan enough time to make them. Don’t venture into making these two hours before you are supposed to leave the house. If you are in a hurry, they will take longer time to make (I think they can sense your stress).
Secondly, use a large saucepan or pot to make them. The mixture will bubble up and double in size, and burnt caramel is not fun to scrape of the stove.
Third, do not leave the caramel unsupervised. You don’t have to stare intently at it every second, but do not leave the kitchen (or if you have to, let someone else watch the caramel in the meantime. Or, turn of the heat, if you are not super close to the target temperature.
Caramel is, in theory, fairly easy. You slowly heat up all the ingredients and boil until you reach the desired temperature. In reality, it does not always go this smoothly, sometimes the caramel burns, sometimes it gets too hard and sometimes not hard enough. Caramel consistency may also be a matter of taste, I am not a fan of jaw-breaking caramels, I prefer a soft caramel with just a little bite in it. To achieve that, 119-120 degrees Celsius works for me, with the sugar termometer I use. This is slightly below the 121 degrees Celsius (250F) that most recipes say.
My advice would be to get a sugar thermometer, make a batch of caramel and note what temperature you stopped at and how you liked the caramel. A bit too soft or hard? Make a new batch, adjusting a few degrees, until you reach perfection. And remember, a failed consistency batch of caramel can be melted with a splash of cream, and turned into a delicious caramel sauce or ice cream and desserts :)
So, lets talk ingredients! The recipe I used is inspired by the Coffee Butter Rum Caramels in Gesine Bullock-Prado’s Sugarbaby cookbook. (See my review of the book here). I decided to omit the coffee and replace it with more rum, as I wanted a simpler Butter Rum caramel. I also replaced vanilla seeds with homemade vanilla sugar, as I had that on hand. Also, the original recipe uses corn syrup, which is not a regular thing in Denmark, so I use glucose syrup instead. It should be possible to substitute corn syrup directly, but I have not tried.
The taste of these caramels is delicious. The dark cane sugar and rum provides spicy complexity, the butter gives butter-ness (is that a word?) and everything comes together beautifully. The rum is quite dominant, so use a rum you actually like the taste of. I may have promised my husband to give the recipe a try with Scotch next time, so that will be interesting to see how goes.
350 g dark cane sugar (not brown sugar or muscovado sugar)
60 ml glucose syrup
240 ml heavy cream
55 g butter
½ tsp. salt
60 ml (4 tbsp.) dark rum
2 tsp. vanilla sugar (or the seeds from a vanilla pod)
Line a 25×15 cm sheet pan with parchment paper. (a different size can be used, but the larger the pan, the flatter the caramels).
Mix all the ingredients in a large saucepan and heat slowly, while stirring occasionally, until the sugar dissolves. Stop stirring and heat to 119-120 degrees Celsius (monitor with a candy thermometer, make sure it does not touch the bottom of the pan, as this will give a higher reading).
When the target temperature is reached, pour the caramel into the lined pan, and leave to cool completely.
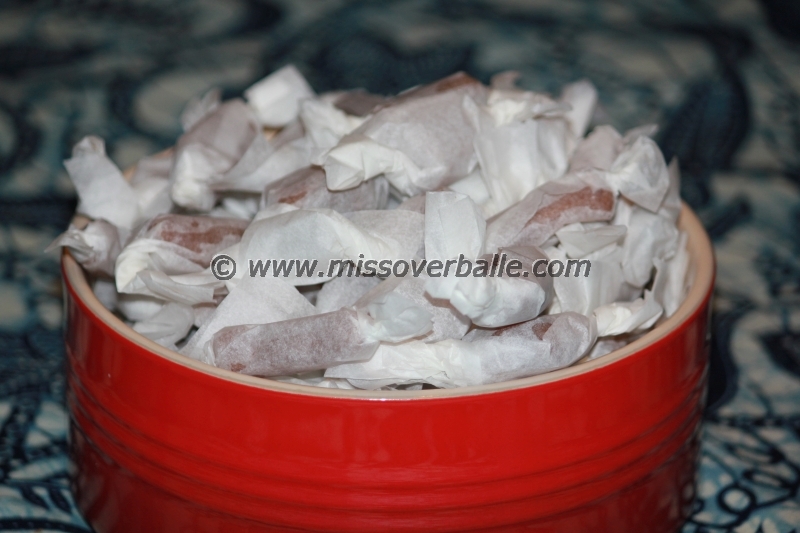
When the caramel is cold, cut into squares and wrap each square in parchment paper. Remember, the smaller pieces of caramel, the more pieces you have to wrap ;)
Enjoy and happy easter!


